Maybe at this time, you want to share an essential and confidential link with only the intended recipients, but you are afraid that other unauthorized people can access the link. Maybe if you look at it, but if those who are not interested change, plagiarize or delete the data on the link, you are in a dangerous position.
Maybe you want to share an important and confidential link with only the intended recipients at this time, but you are afraid that unauthorized persons can access the link. Or perhaps you don't mind if they view the link, but if those unauthorized people were to change, copy or delete the data on that link, then you will be in a dangerous position.
But no need to worry, now there is a system to protect your link from outsiders, one of which is the latest feature from S.id called Protected Link. With Protected Link, you can use the link security feature for free by visiting the official S.id website.
A Protected Link is a type of link where you will need a secret key/passphrase for access before being redirected to the original link. So, when people want to access your links, they need to know the password you created. That way, your link will be safe from other unauthorized people.


Making a Protected Link with S.id is very easy, here is a summary of how to secure your site with a Protected Link from S.id.
Before creating a Protected Link, you first need to create an account on the S.id site. Here's how to create your S.id account.
-
Open the website home.s.id****.
-
Then click Login/Register button.
-
You will be given three authentication methods to choose from: **continue with email, Google, or U.id. **Choose your preferred option to create or log in to your S.id account.
How to activate Protected Link
-
Log in to your S.id account. You will be redirected to the S.id dashboard.
-
Click the **Links menu located on **the sidebar. If you are accessing through mobile or on a resized window, click the (☰) menu to reveal the full sidebar options.
-
Enter your URL in the top column and click Shorten It!
-
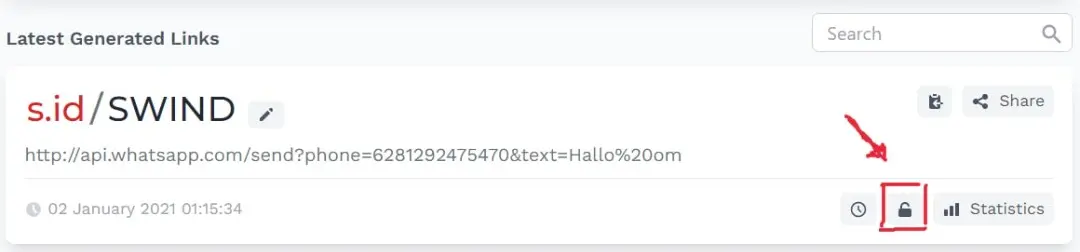
After that, click the padlock icon to access the Protected Link menu.
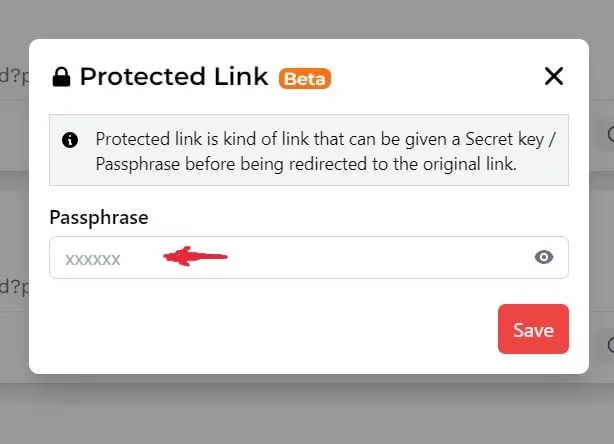
- Enter your secret code, then click **Save **and you’re done!
-
When someone wants to visit your link, a request will then appear to enter a secret code to access your link.
-
Now, you can share the secret code with the intended recipients.